Table of Contents
Wizards
![]() The wizard editor is available in Dinamica EGO since version 1.8. However, this tutorial refers to the version currently available in Dinamica EGO 2.0 and later. See Youtube videos below for current layout and procedures.
The wizard editor is available in Dinamica EGO since version 1.8. However, this tutorial refers to the version currently available in Dinamica EGO 2.0 and later. See Youtube videos below for current layout and procedures.
What is
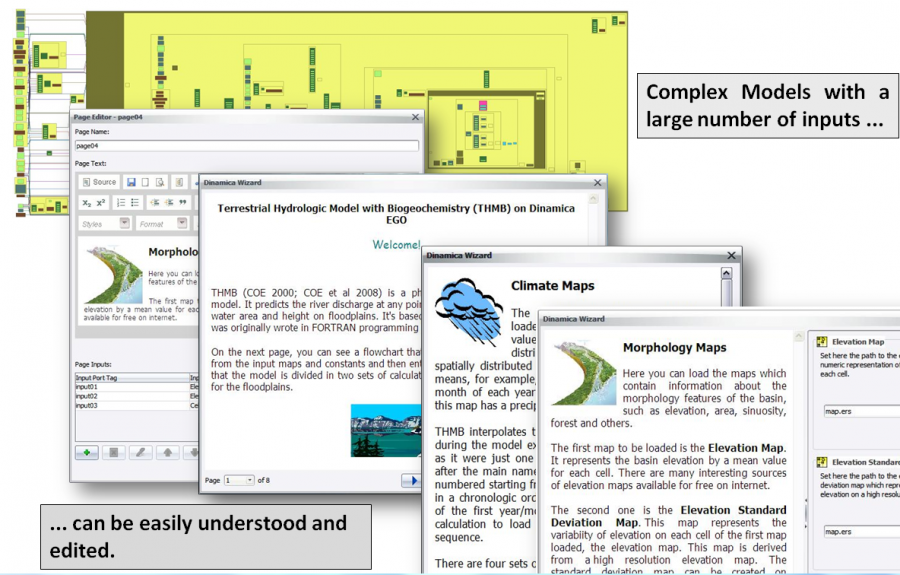
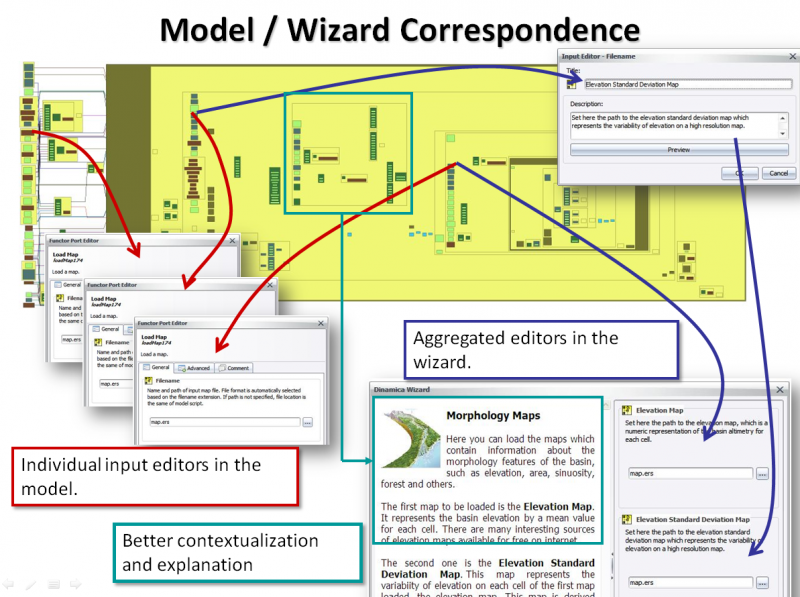
A Wizard is an easy way to create a presentation for a model developed in Dinamica EGO with formatted text, images and other graphical features. In a Wizard it is also possible alter the models'inputs to run an easy simulation without an advanced understanding of the Dinamica GUI and its functors. A Wizard Tutorial is a sequence of pages containing formatted text, tables, images, diagrams, animations, embedded videos or any other internet browser compatible technology inserted by the author. Each page can contain general information about the model and the simulation inputs. Simulation inputs can be directly linked to script inputs, making it a fast and easy way to set parameters and run a simulation.
A model author creates their own Wizard Tutorial to present and explain its concepts and ideas. The Wizard Editor is a powerful tool to create text, format information and illustrations visually, include tables, and set inputs/outputs. The author selects model script functors to include in the Wizard so not all functors are visible to Wizard users.
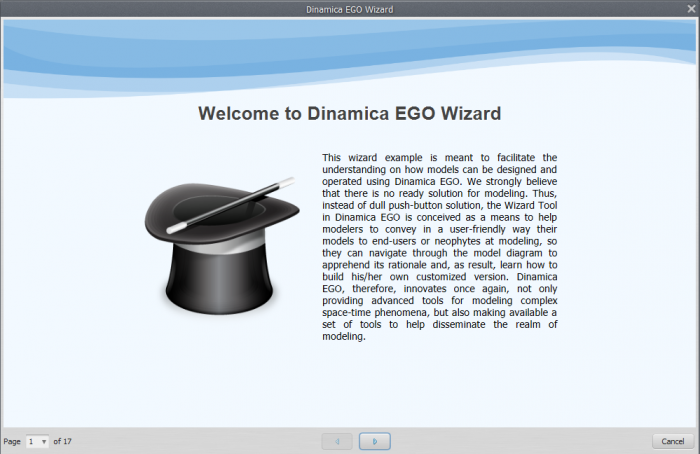
So, if you are a model author, it is a good idea to create a wizard to make it easier for other users to understand and run your model.
C:\Documents and Settings\User Name\My Documents\Dinamica EGO\Dataset\Examples\run_lucc_northern_mato_grosso\run_roads_wizard
The Tool
It is important to present a extant hierarchy in a tutorial that guides the user through the model. The Wizard should be a logical sequence of pages, each using a graphical area to convey information and possibly ports linked to the model. This is a very clear idea that can be seen in the wizard editor. The following videos provide directions on using the wizard tool:
Here is how to run a Wizard in the current interface:
To open Wizart tool click on the edit bar in the menu:
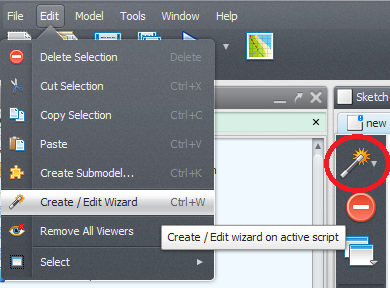
It has an intuitive interface that we are going to learn how to use through the examples.
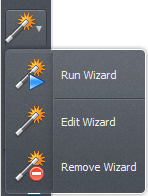
Examples
Simple Wizard
Lets start with a quick example where we create a wizard for a script that performs only a simple map algebra operation.
We are going to need the functors:
Building the model
How we build the model:
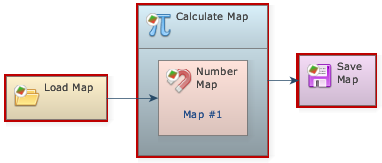
In the Calculate Map we are going to perform a simple operation with the input that is filter the values equals to null, set them to 1 and set 0 to the others.
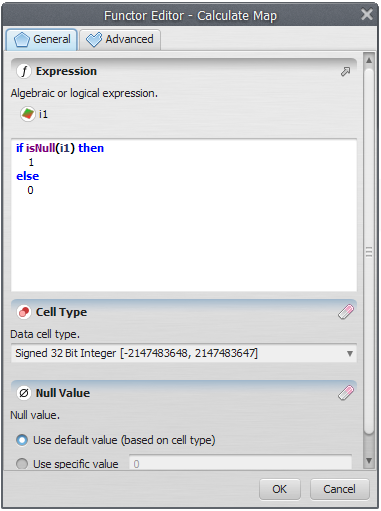
Creating the Wizard
To create a wizard o need first to save your model. Save it with XML extension and open the wizard editor.
Wizard Pages
In the Dinamica Wizard Editor toolbar click in the wizard icon to input ports.
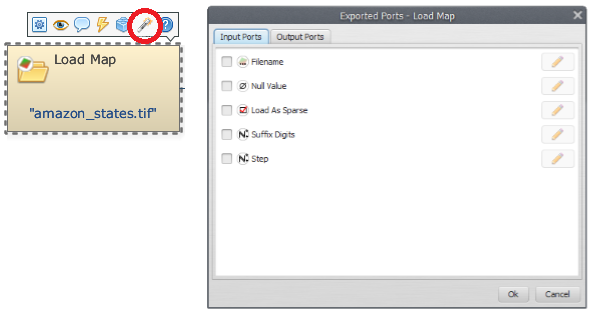
It is necessary to give a page a name, but it is only for identification. The tutorial user will not see this name:
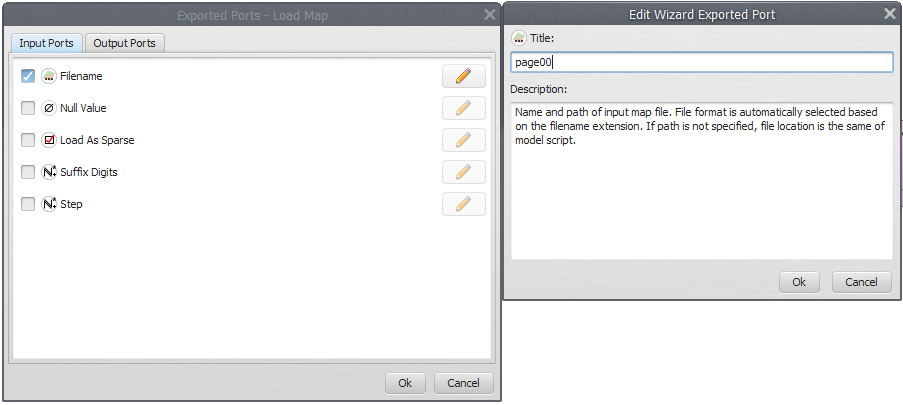
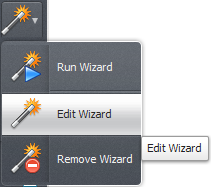
Now lets edit this page and add some text. To edit a page can just click on edit wizard at the icon wizard:
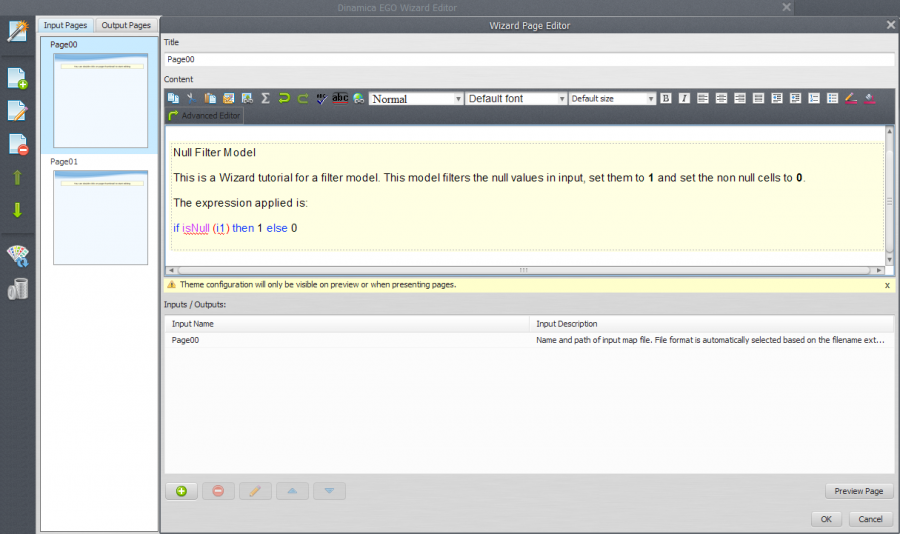
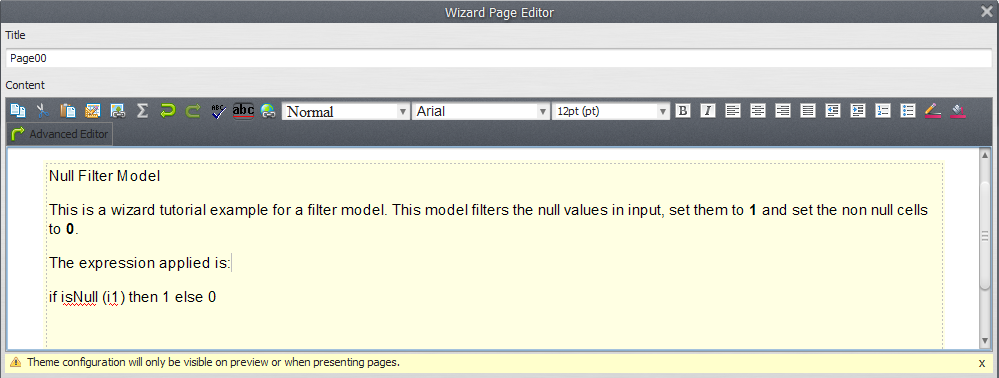
The page editor will be showed up:
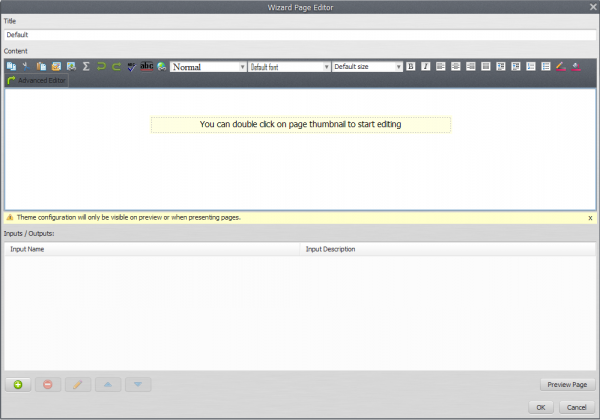
Indeed, it is a visual text editor, “what you see is what you get” style. Lets add some text about our model.
Formatting
We can use the editor features to add some formatting:
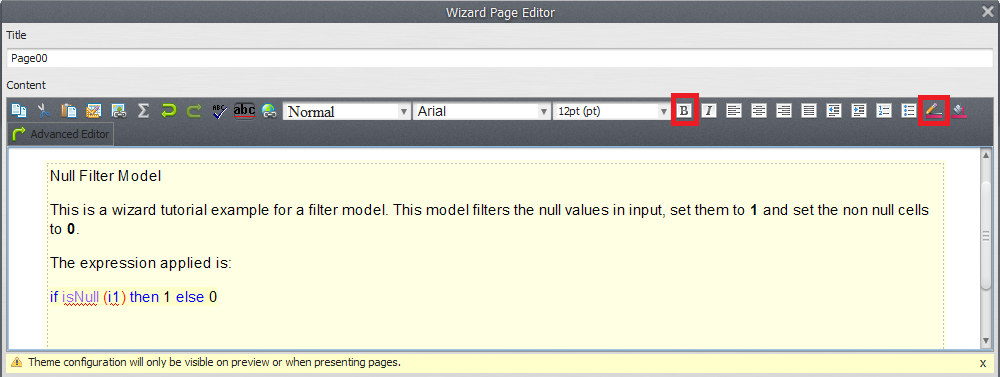
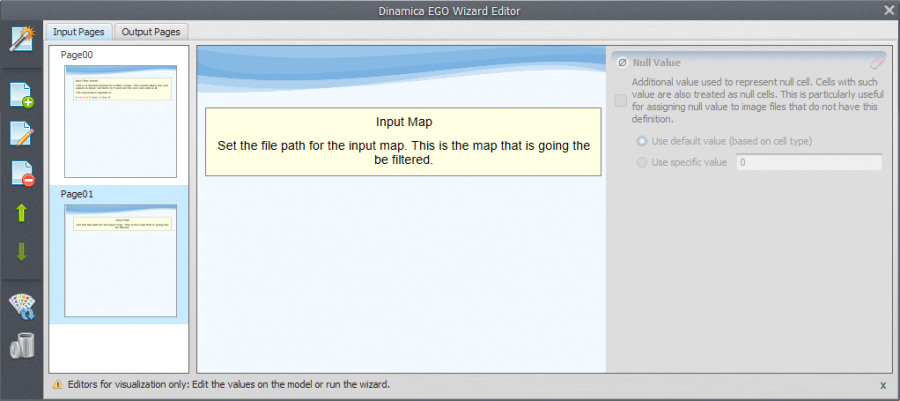
By clicking ok the page will be visualized in the Wizard Editor:
Another Page
Now lets add another page. You already know how to proceed.
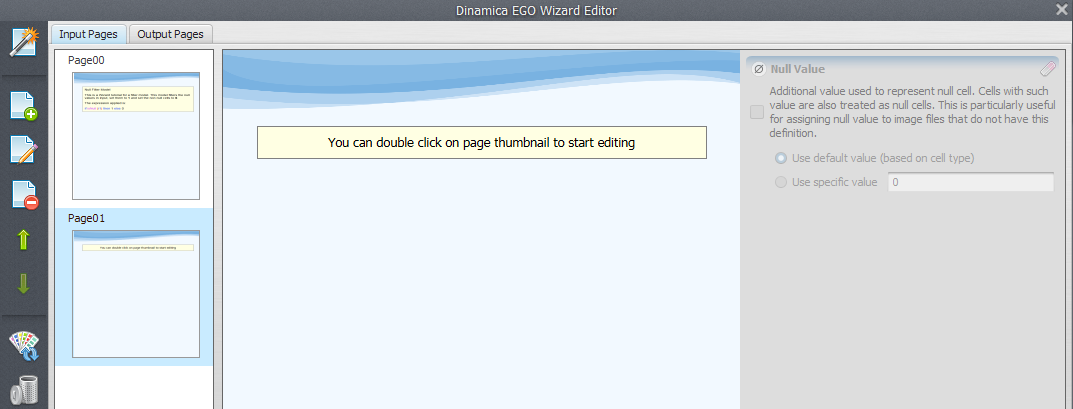
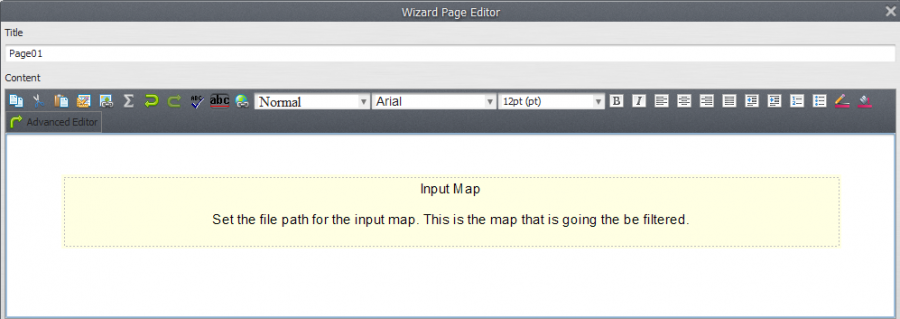
In this second page we are going to allow the user to set the input map file path for the filtering. For now, lets add a text about it and soon we will add the input in the wizard.
Adding Inputs
Now, lets add one input to our wizard. To do this, double click the second page to edit it. In the page inputs area, click in the Add input button to add a new input.
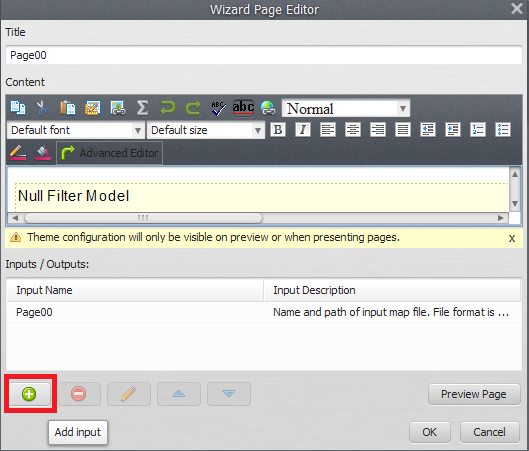
The Select functor port window will open up. In this window, the Load Map functor present in our model can be seen. Select page 00 and press ok.
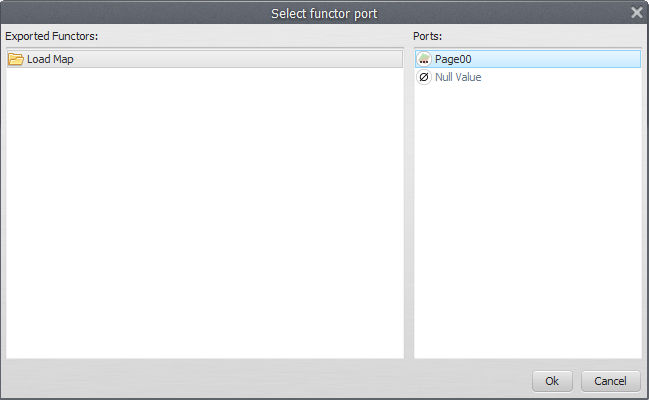
Now, you can edit the port title and description. This is an important feature because ports for a functor have all the same title and description. With the wizard you can specify this information with an intuitive text, something that explain better what is this input for your simulation.
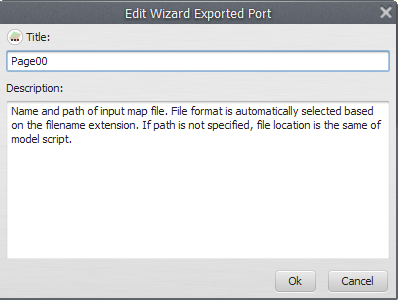
Lets add a new title and description that explains better this input:
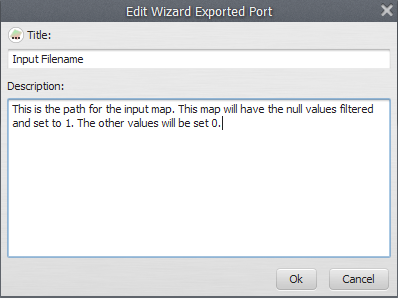
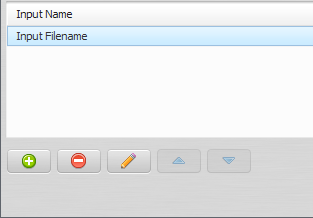
After clicking ok the input will appear in the page inputs area:

If you select an input from this area the buttons will be available. Through this you can remove the selected input, edit its information again (modify title and description) or change the inputs order (move it up or down) when there are more than one input.
Testing the Wizard
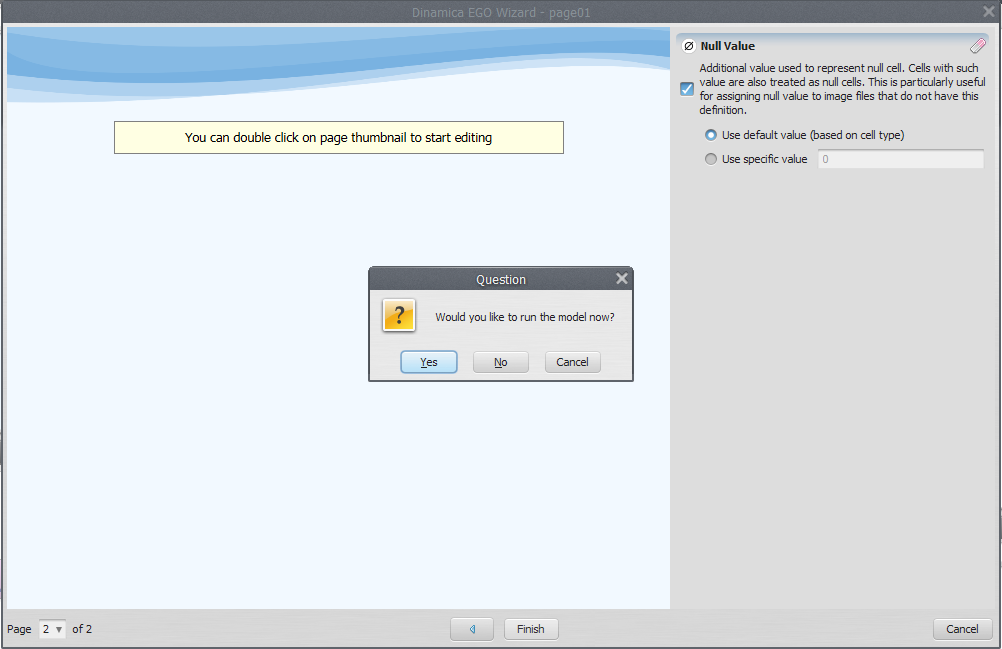
To test the wizard you have made you can click the button Run Wizard in the tool bar:
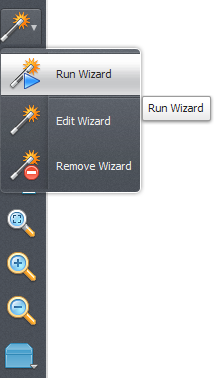
After clicking Run Wizard you must select the model that will contain the wizard and run the model.
Clicking Cancel you can keep editing the Wizard.
A third page
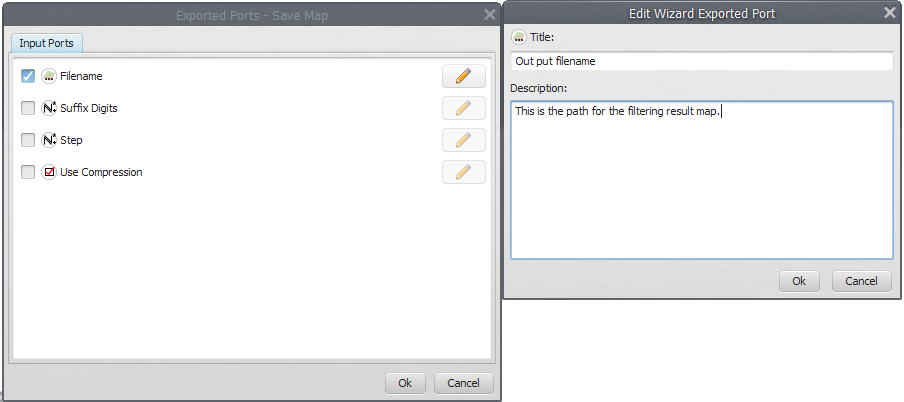
Now you know the process to create a page and add an input. Lets do it faster. In the third page we are going to add some information about the output map and after export the Save Map Filename port we are going to add it as an input to the third page.
We create the page and add information.
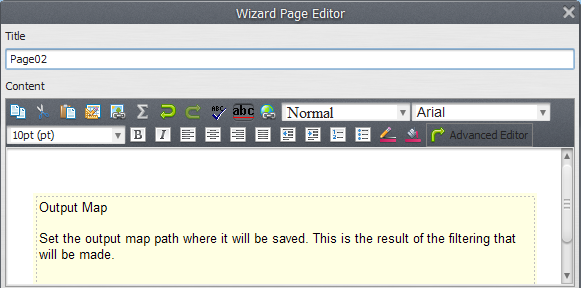
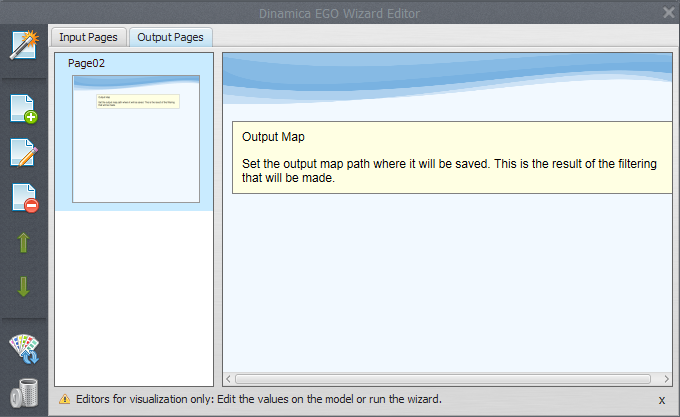
Now add an input, choose the Save Map functor (you need to click in the wizard tool on the save map) and then his input port named “Filename”.
After that you have to click in Edit Wizard.
Choose a name for the input and set a meaningful title and description.
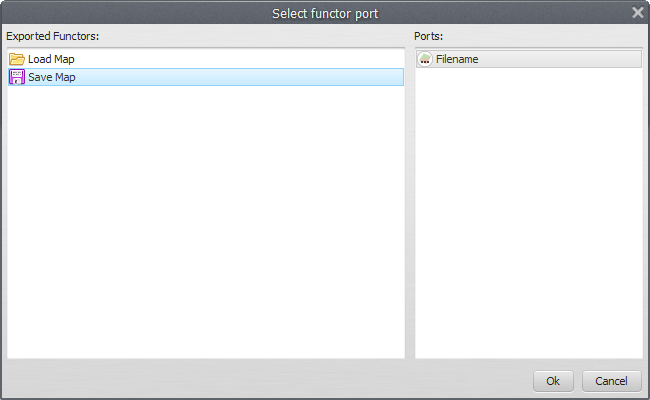

Finishing the Simple Wizard
You have just created a complete wizard tutorial for your model! Save the wizard and close the editor. It is also important to save your model again.
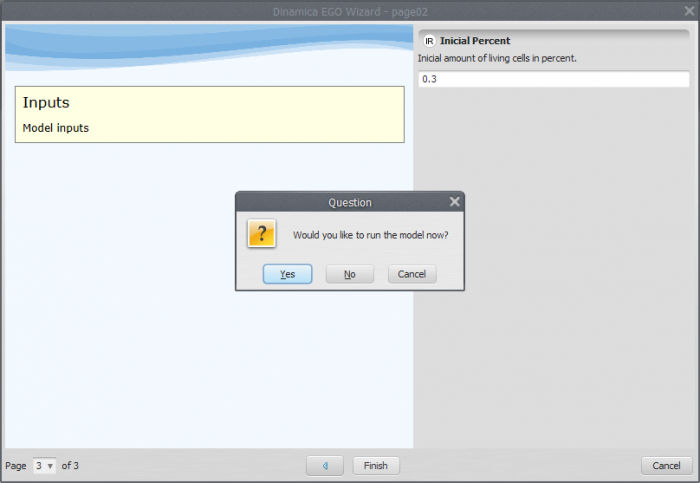
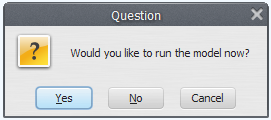
Now, every time an user opens your model, he will be prompted about running the wizard tutorial you have created.
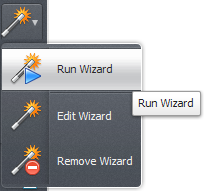
It is also possible to run the wizard tutorial through the Run Wizard button in the tool bar.
Conway's Game of Life Wizard
The Conway's Game of Life is a cellular automaton zero-player game where a initial state is defined and interactions between the cells results in a new state for each game iteration. Some simple rules are used to decide if a cell will born, stay alive or die. This automaton was a base for many studies in Artificial Life.
A Dinamica EGO implementation for this game is available in the installation directories:
C:\Documents and Settings\User Name\My Documents\Dinamica EGO\Dataset\Examples\game_of_life
To create a Wizard Tutorial for this model, stay tuned with the concepts discussed in this tutorial until now. We are going to be faster now.
Open the model
Open the model
C:\Documents and Settings\User Name\My Documents\Dinamica EGO\Dataset\Examples\game_of_life\Run\game_of_life.xml
in the Dinamica EGO interface. Take a look at the functors, the comments inside it and understand what each one is doing there.

The Wizard
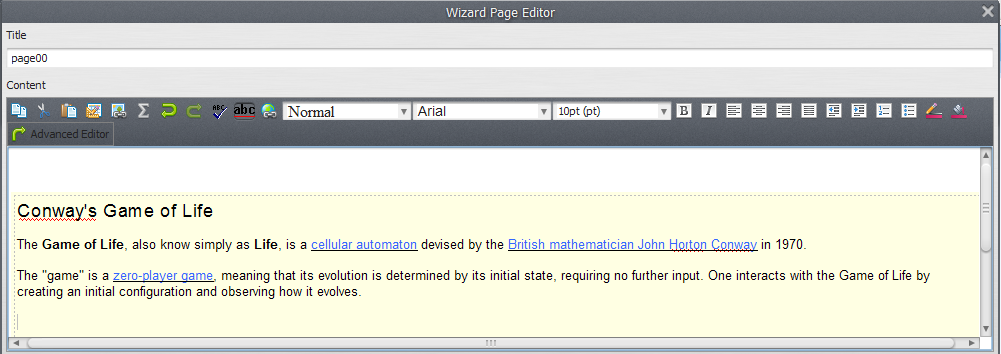
Open the wizard editor and create a page. Take a look at the Wikipedia's page for the Conway's Game of Life copy some information from there and paste it in the page.
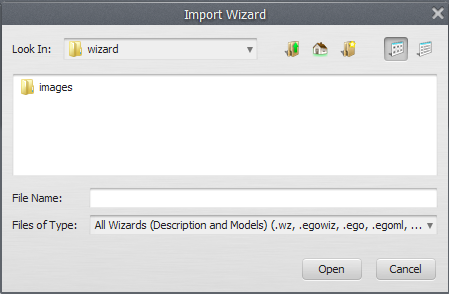
Now, import the wizard in a file within the model. In the directory game_of_life, create a directory called wizard and save the file wizard_gof.egow.
Using Images
Lets add an image in this firts page to illustrate the game in action. Wikipedia offers a good example in the following URL:
http://upload.wikimedia.org/wikipedia/commons/e/e5/Gospers_glider_gun.gif
Lets download that image to use it in our wizard. I usually right click the image and select the Save image as… option. It is very important to save the images used in a subdirectory whithin the wizard file. This way portability is easier. Create a folder called images inside the wizard folder and put your images there.
Inserting Images
It is easy to add an image to a wizard page. In the Page Editor you can find an icon for it:
![]()
An interface to set the image properties will open up. If you have some trouble to fully visualize it you can resize the Page Editor window.
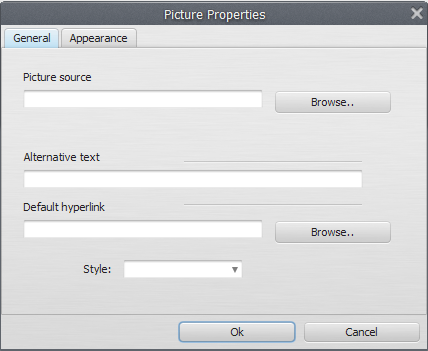
As you can see, there are two tabs of properties: General and Apperance. In the General tab there is a field for the image URL. You should insert there the absolute path to the image file in you computer. In this example the absolute path is:
C:\Documents and Settings\Administrador\Meus documentos\Dinamica EGO\Dataset\Examples\game_of_life\wizard\images\Gospers_glider_gun.gif
This is why it is important to keep the images in a file within the wizard file. Dinamica Wizard automatically find the image even if you change computers since you keep that directory structure.
You can change the image size in the Width and Height fields or set a tooltip in the Alternative Text field. In the Link tab you can set an URL to redirect the user when he clicks the image.
In then Page Editor we have centralized the image.
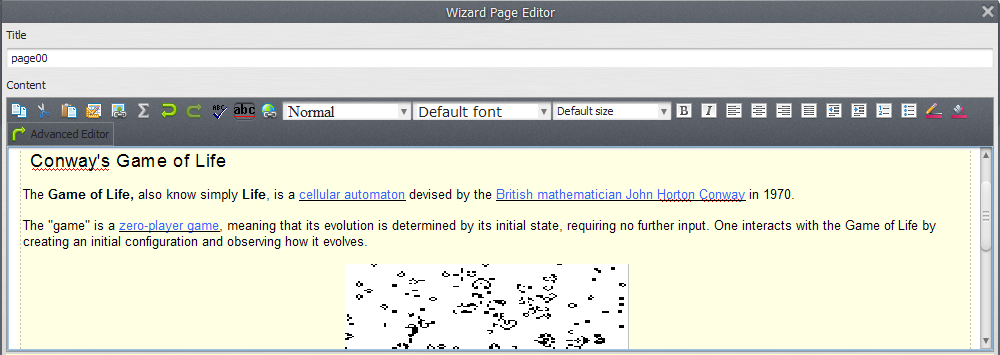
A Second Page
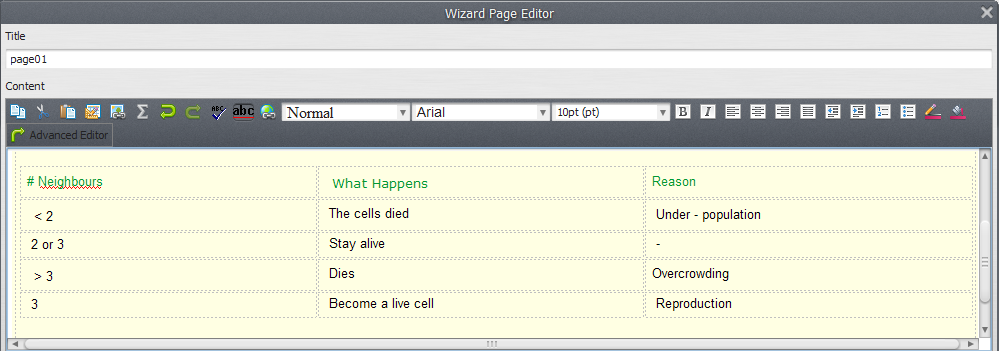
Now that we have a very good first page, lets create a second one to explain the game rules. I will user the information in http://en.wikipedia.org/wiki/Conway%27s_Game_of_Life#Rules to create a table that relates number of neighbours and cell state.
Tables
You can create a table through the table icon in the Page Editor:
![]()
You can choose rows and columns of your design table.
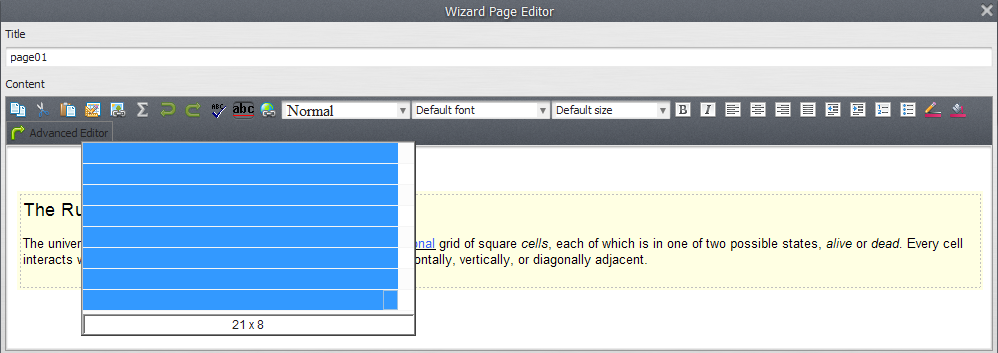
These fields are very intuitive. We are going to create a table with 5 rows and 3 columns to write down the game rules.
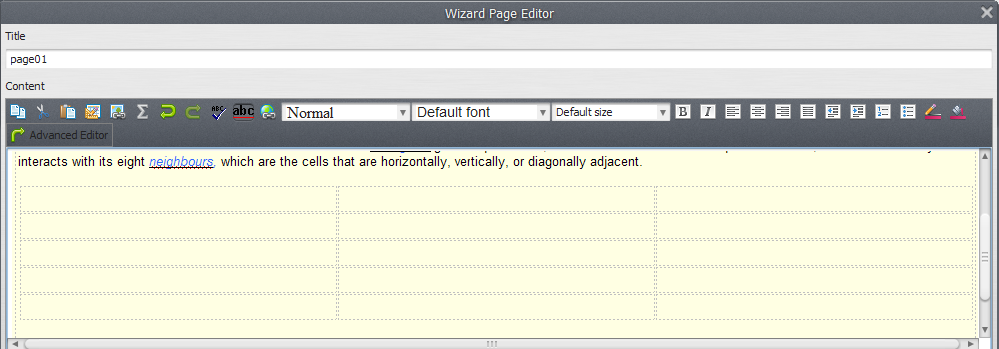
I have divided the rules in number of neighbours, cell state and reason. After creating a table you can write and format the text on it.
A Little Modification
Remember to save you wizard often. Close the Wizard Editor after save and lets make a little modification in the model. In the first Calculate Map that generates the initial 'seed', add a Number Value and link a Real value to its Value port and set the Value Number to 1. Edit the Real value alias, using the “Comment Editor” editor, and change it to “Percentage of living cells”.
Edit this Calculate Map expression to set a cell as alive based on the v1 value and not by 0.3.
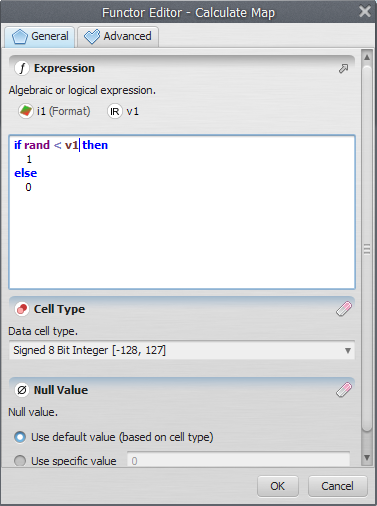
Now we can control the percentage of living cells in the initial state through the value in the Real value functor.
The Wizard Inputs
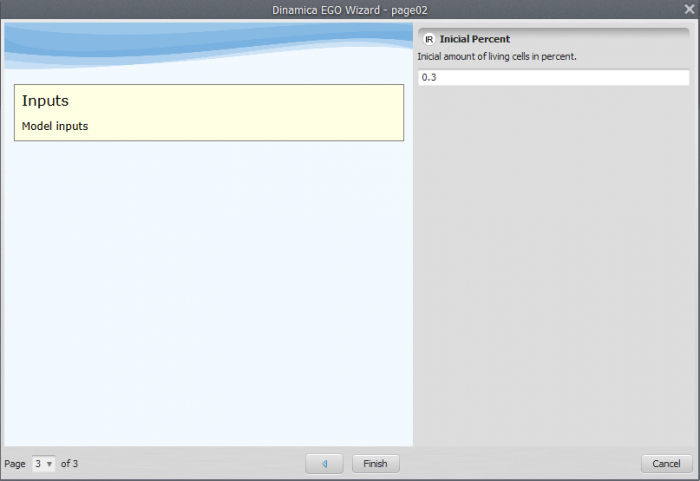
In the Wizard Editor, create a third page to receive the inputs and add the Real value.
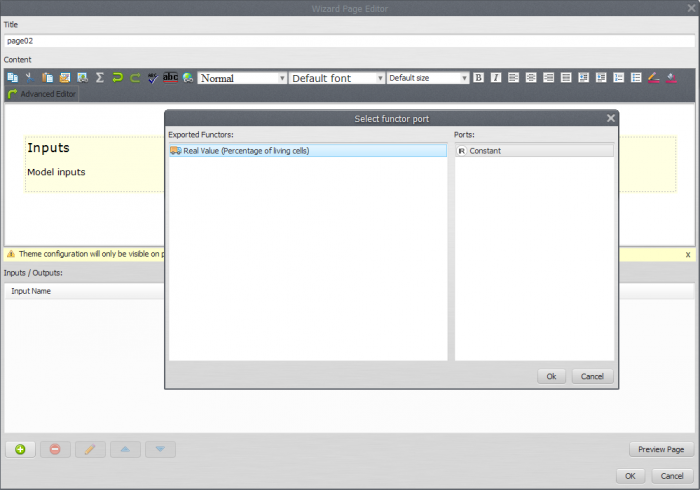
Set an intuitive title and description.
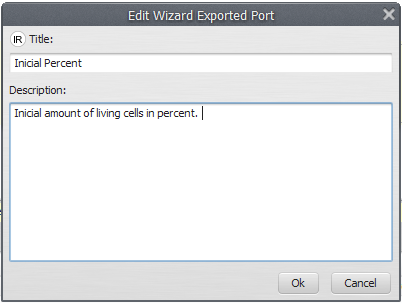
Now the user will be able to set this parameter through the wizard.
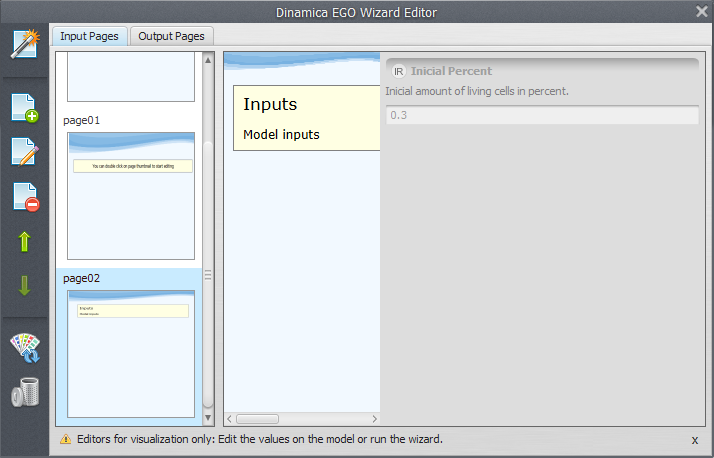
Try to add more inputs.
Finishing
Run the wizard and the model.
You have finished the wizard construction for the Conway's Game of Life model! You learned some new features and are ready to create your own wizard tutorials for your models.
Other Features
Youtube videos
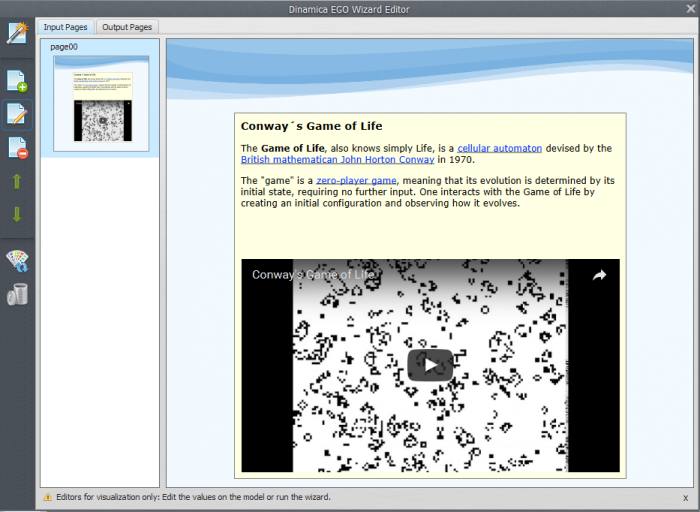
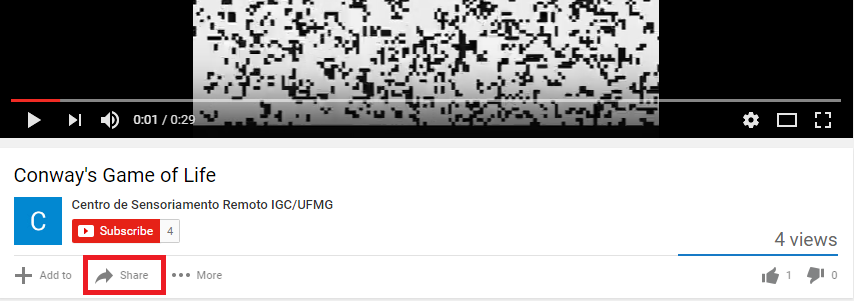
It is easy to embed Youtube videos in your wizard. Go to Youtube's page and choose a video. I have choosed this one:
Click on the Share button.
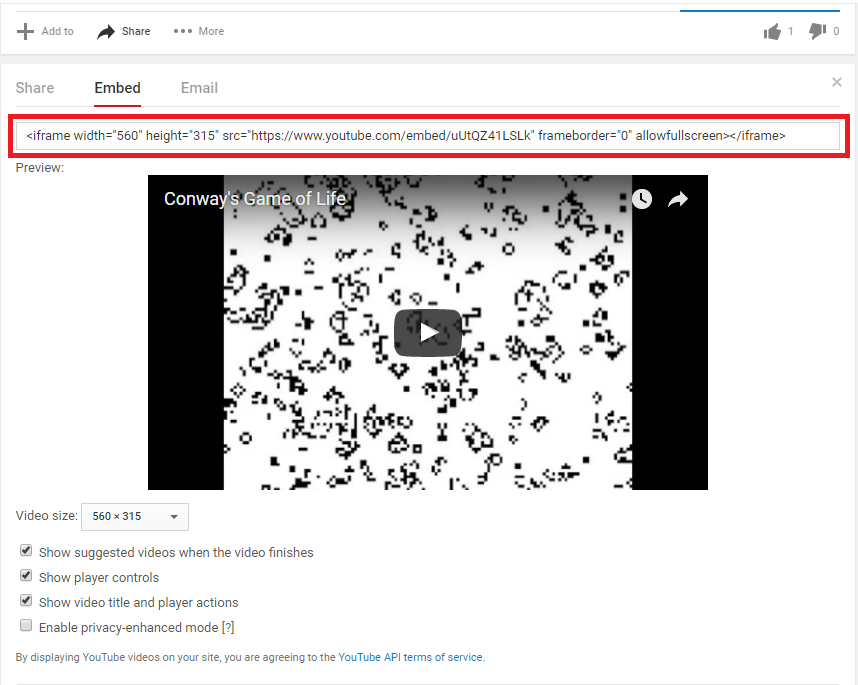
Click on the embed button: 
Select and copy the code in the text box.
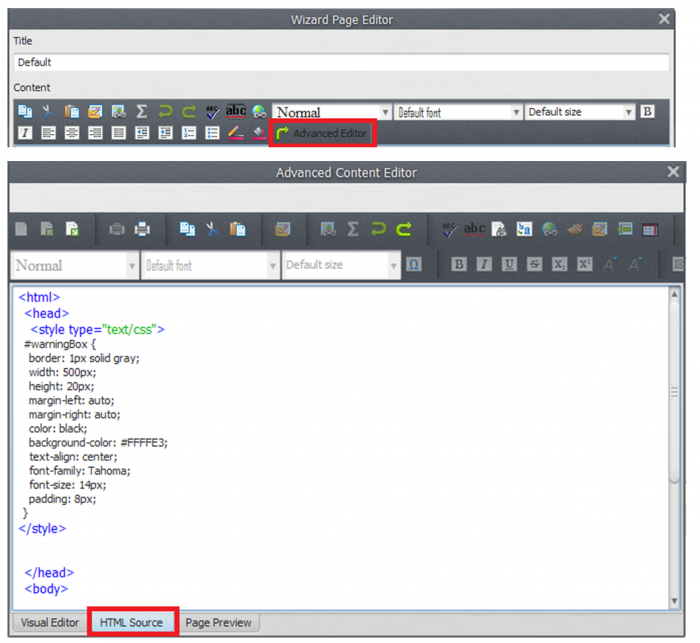
Edit the page you want to put the video and click the HTML Source button.
Paste the code you have copied in the body of the text.
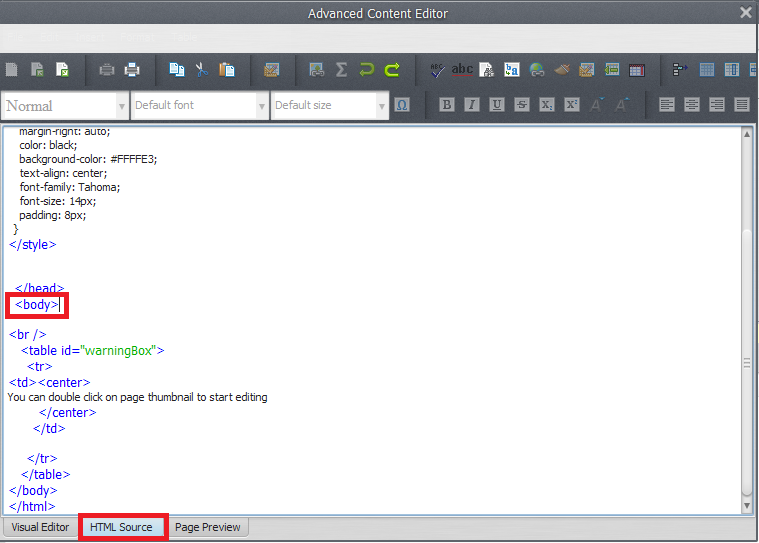
Clicking ok and testing the wizard you can see the video there.
